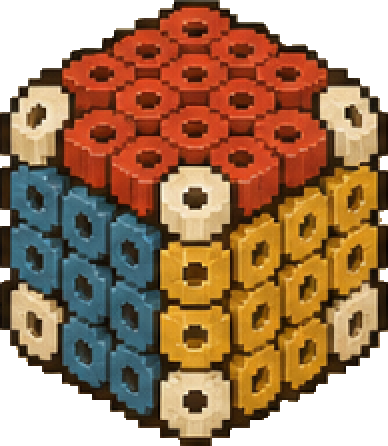
IMG_4478
Loading 3D
Drag to rotate
Rotate the model and explore its parts and assembly steps
- Beads
- 3,528
- Parts
- 3
Size and bead specification
Estimated grid dimensions before ironing
- X axis
- 127.4 mm
- Y axis
- 62.4 mm
- Z axis
- 9 mm
Calculated from the recorded grid and bead spacing Axes follow the model coordinates Ironing and joining can change the finished dimensions
- Bead diameter
- 2.6 mm
- Pattern color brand
- MARD
- Recorded pegboard count
- 2
Prepare beads by color code
The pattern records 3,528 beads across 16 colors
Counts come from the current pattern and exclude spare beads Use codes with the recorded brand Screen colors are a reference
| Color | Code | Beads |
|---|---|---|
| #98A6A8 | H15 | 914 |
| #D9D9D9 | P09 | 618 |
| #949FA3 | H20 | 444 |
| #CACAD4 | H22 | 266 |
| #CECDD5 | H11 | 252 |
| #697D80 | M03 | 238 |
| #337680 | P14 | 168 |
| #95D3C2 | B10 | 144 |
Show the remaining 8 colors
| Color | Code | Beads |
|---|---|---|
| #4A867A | R17 | 144 |
| #B6B1BA | H03 | 138 |
| #156A6B | B21 | 72 |
| #67B4BE | C22 | 48 |
| #4E846D | B25 | 40 |
| #CFD7D3 | H14 | 22 |
| #668575 | P15 | 12 |
| #3DAF80 | B07 | 8 |
Connecting rods
The pattern records 8 connecting rods Diameter 2 mm
- 8 mm 8 rods
How to start this project
- Prepare the materials above and sort your beads by color code
- Select each part in the viewer and follow its color positions on your pegboard
- Follow the ironing instructions supplied with your beads Keep connection holes clear and check the shape after cooling
- Follow the part IDs and assembly sequence in the viewer
Show the recorded part sequence
- Step 1 P01
- Step 2 P02
- Step 3 P03